Yesterday we packed up all the Halloween decorations, and the twins woke up from their nap crying about the missing pumpkins, spiders, rats, and bats. In fact, the house felt so empty, we started to decorate for Thanksgiving right away. Sissy decided on a turkey theme for this year and informed me that we need hundreds of turkeys. I'm not sure we'll end up with quite that many, but I found several turkey crafts to get us started. We didn't have much time to craft, so Sissy and I started with a very easy project. I found this cute turkey paper doll on Cupcakes and Crinoline, and decided to make a little turkey garland. Here's how we did it!
 Turkey Garland
Supplies
Turkey Garland
Supplies:
- Turkey template
- Card stock
- Markers
- Scissors
- Craft foam (optional)
- Hot glue gun
Method:
- Print the template on card stock. (I had to copy the picture, paste it into Word, and resize it.)
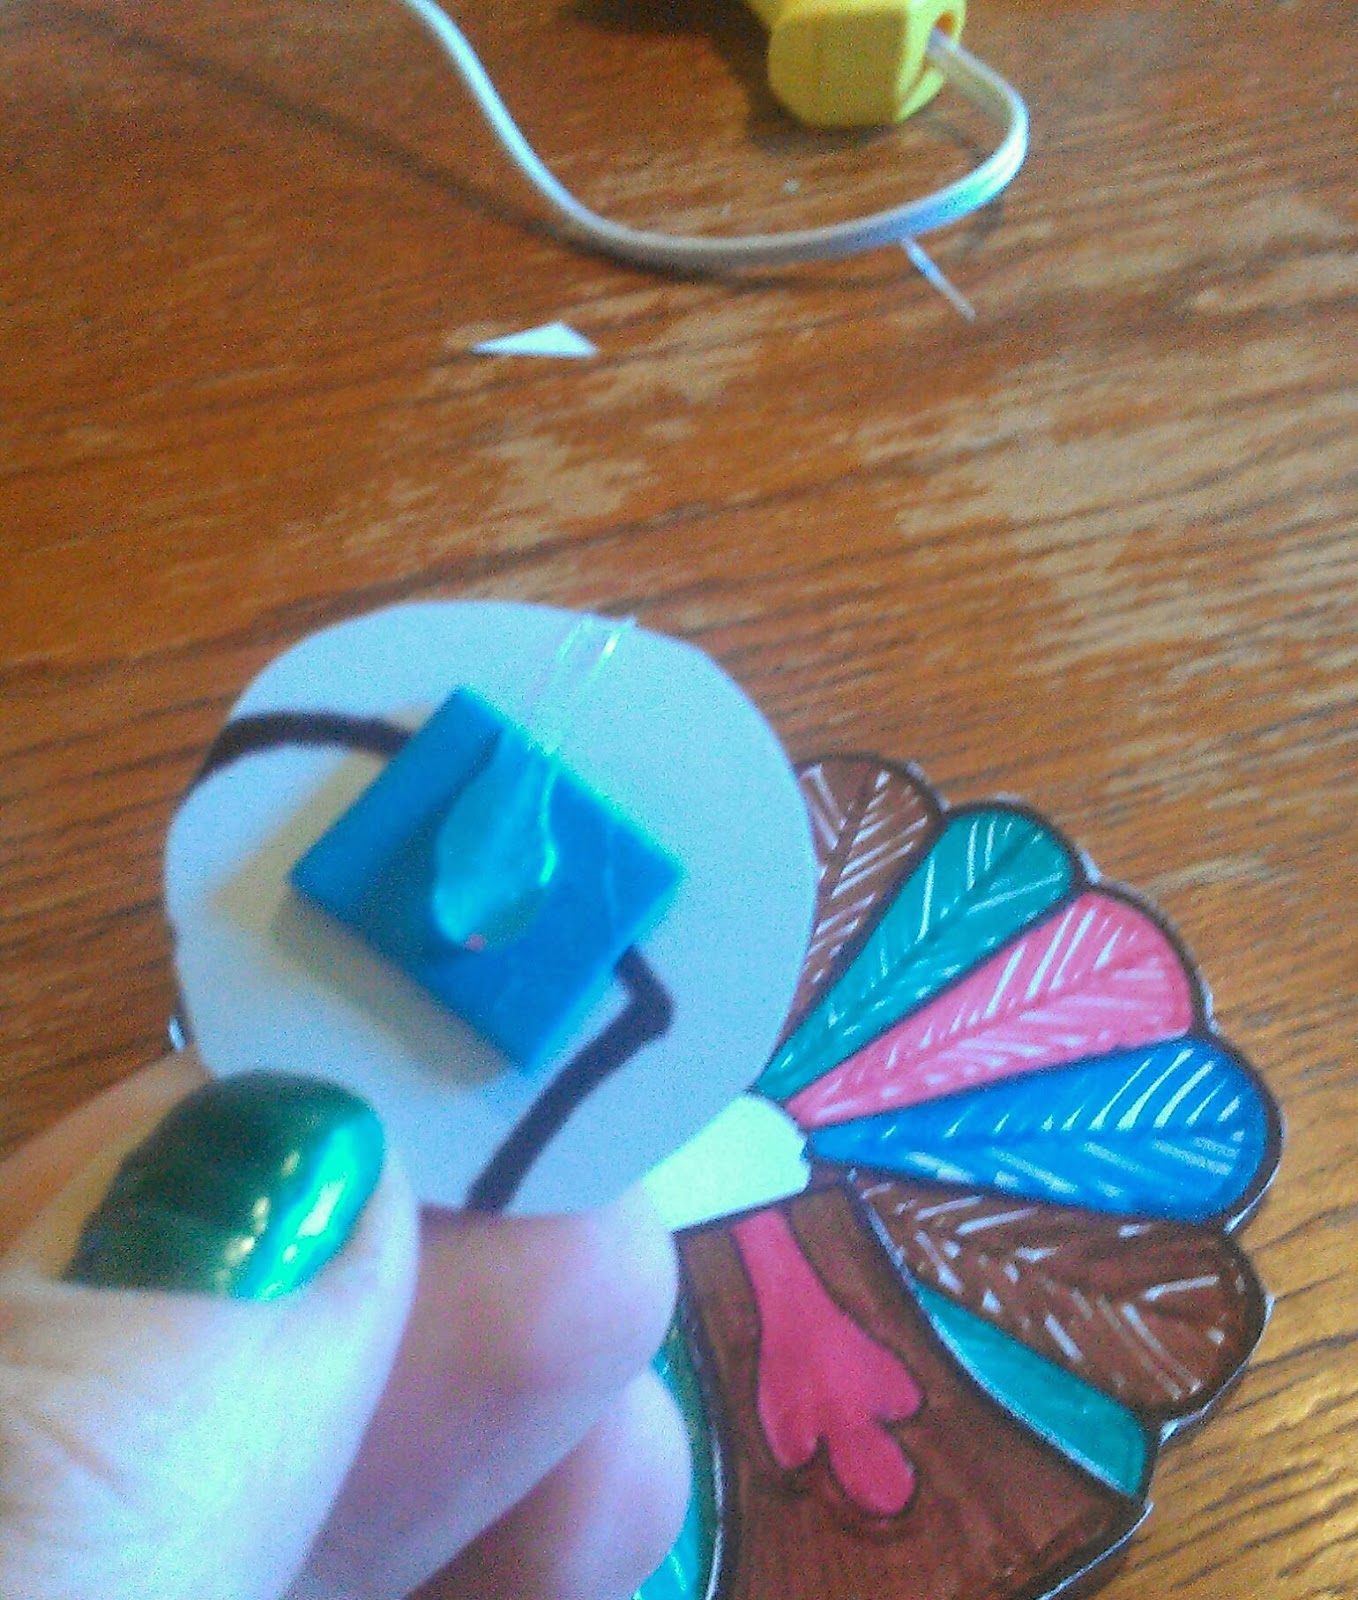
- Color the turkey. Sissy and I experimented with feather patterns and lots of fun colors. After you color all the pieces, cut them out.
- Cut up small squares of craft foam. Glue two layers of craft foam to the back of the head, body and wings with a hot glue gun. The craft foam is optional, but if provides a little depth for the turkey. Then glue each piece onto the turkey where you want them. Glue the feet to the back of the large round feathers.
- Repeat steps 1-3 until you have as many turkeys as you want. Hang them from a string with tiny clothespins for a cute and festive garland!
We made four turkeys yesterday, but will probably add to our flock. I'll post an updated picture of the garland when its complete. Please share your favorite turkey craft with us and we'll make it!
Happy November!


 Turkey Garland


